Map Builder Instructions
Please watch the video below for instructions. A text version of the instructions is also available below the video.
There are four primary steps to follow when using our map builders. These steps are indicated at the top of each product page: Map Options, Create Map, Preview, Order. Please follow the instructions below for each step.
Before You Begin
Here are the answers to some commonly asked questions before you begin:
1. Map Detail - please note that the base map shown while building your map doesn't show all the details your map will include. Please see "Step Three: Preview Map" below, which outlines how to see how your map will be printed.
2. Additional Size, Color, Detail Changes - We do not offer further size, color, or data customizations other than the option shown.
Step One: Map Options
There are three map options that you'll need to choose: Size, Print Finishing Options, and Title.
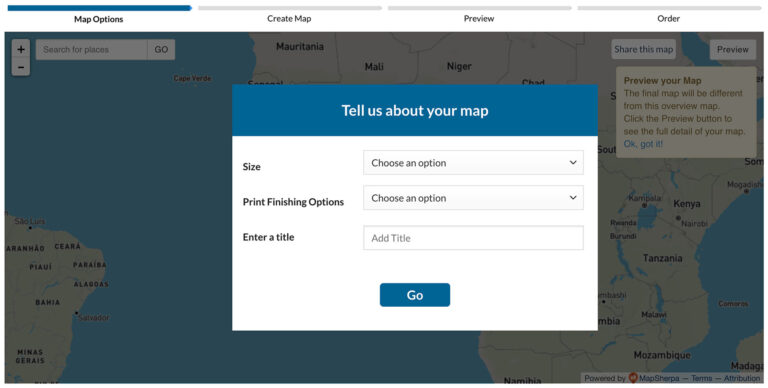
Size
Please select the size of the printed map that you'd like. We offer three sizes: 24" x 36", 36" x 48", and 48" x 60". Sorry, we cannot print custom sizes.
Print Finishing Options
Please select the finishing options you'd like for your map. Click here to view details on our finishing options. Once you select both the size and the finishing option, you will see the price listed. This is the price including your custom map, the finishing option, and free shipping.
Enter a Title
If you would like a custom title to appear in the footer of your map, please add it here. If you leave it blank, the map title will be our product title (i.e. Custom World Terrain).
Once you've completed the three steps, click the blue "Go" button or the blue "Continue to the Next Step" button at the top right.
Step Two: Create Map
There are a few steps to follow when creating a map: searching for the location, picking your orientation, and selecting your map scale.
Searching for Your Location
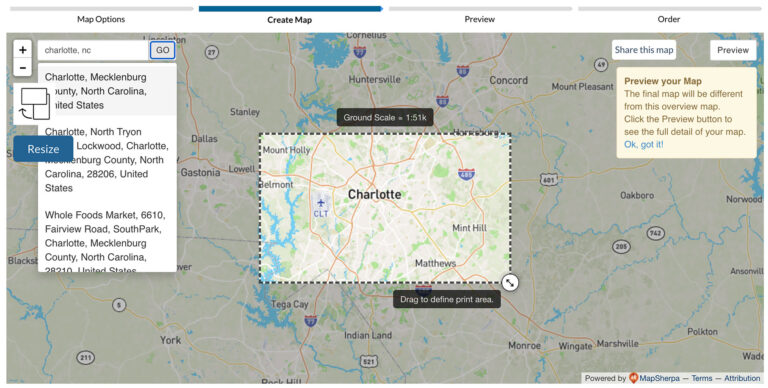
Find your location by using the search field in the top left corner of the map viewer, labeled "Search for places." Type your location then click the gray "Go" button and options will be listed for your location. Click the best match and the map will center on your location. The screenshot below shows a search result for Charlotte, NC. Instead of search, you can also zoom and pan. Use your cursor to drag the map to your desired location, then use the +/- icons at the top left to zoom in and out.
Picking Your Map Orientation
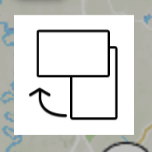
You can choose a portrait (vertical) or a landscape (horizontal) orientation for your map. The landscape orientation is selected by default but you may want to change this based on the shape of your geography. To toggle the orientation from landscape to portrait, click the orientation icon near the top left side of the map viewer (pictured below).
Selecting Your Map Scale
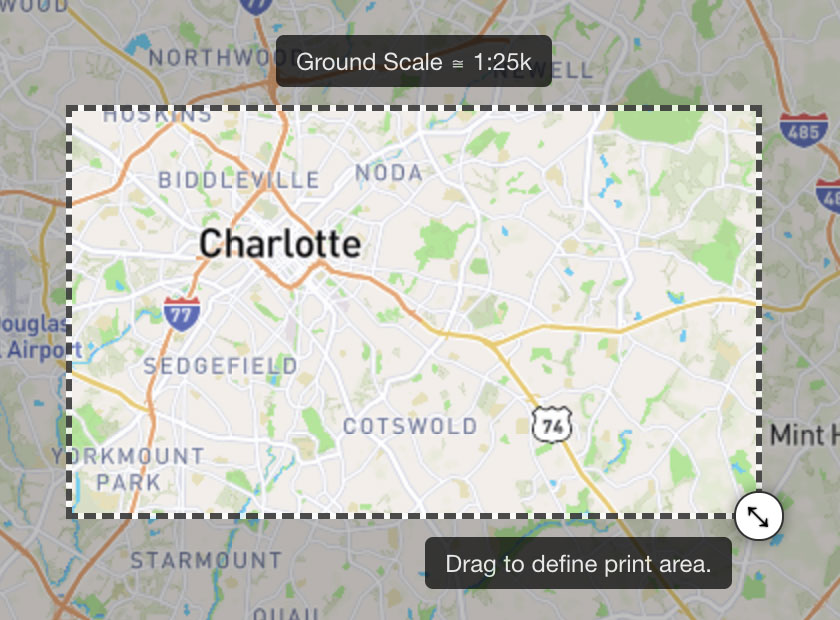
Now you can drag the bottom right corner of the box in the center of the map viewer to pick the geography and scale you'd like included in the map.
You can see the ground scale listed in text above your map box. The smaller the second number is, the more detail that will be included in the map. For example, a ground scale of 1:100k will have less small streets and labels compared to a ground scale of 1:8k. See the box below showing the ground scale text above the box and the draggable bottom right corner you can use to change the window size and scale.
Changing Area or Size
If you need to adjust the geography within the box, click anywhere on the base map to drag it and change the area included in the box.
You may also want to change the size of the printed map to include a larger area. To do this, click the blue "Resize" button at the left of the map viewer. This will bring you back to the map option where you can select a different size and click the blue "Go" button to see the larger box.
Once you've completed all the items in Step 2, click the blue "Continue to Next Step" button to preview your map.
Step Three: Preview Map
Until now, the map pictured in the map window is not how your map will look. We display a base map with a small file size to speed up the processing of our map maker, but now you need to preview your map to see how the printed version will look.
Once you're in the Preview step, your map will generate in the map viewer. Please note that this may take several minutes if you're mapping a large area. While the preview is generating, you will see this screen.
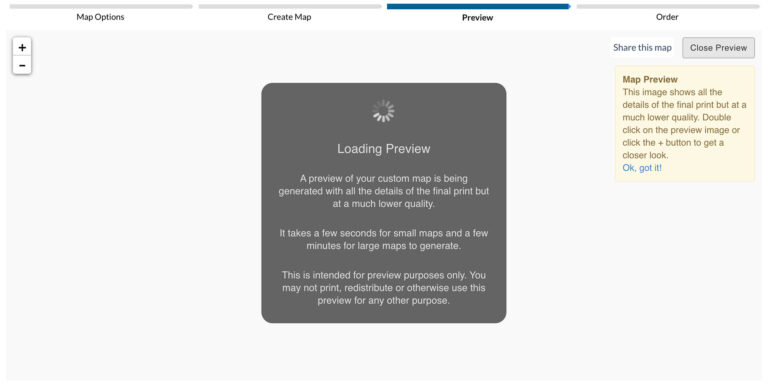
Here are some important notes about the preview:
The preview will contain a watermark on top of the map (a light X pattern and the repeated words "Preview"). This watermark will not appear on the final version. The watermark only appears on the preview.
The preview images shows all the details of the final printed map but at a lower quality. You can double-click on the preview images or click the + button to get a closer look at the details.
If you'd like to close the preview to change anything on your map, click the gray "Close Preview" button near the top right of the map window and make your adjustments.
Saving or Sharing Your Map
If you aren't ready to order now, you will want to save the link to your map so you can return to it at anytime. Please note that if you refresh the page, your map is not saved and you will have to recreate it from scratch.
Click the white "Share this map" button at the top right of the map viewer to generate a link. Copy this link and save it in a safe place. You can paste this link into your internet browser to return the map you created.
Use this link to share it the map if you need approval from others.
Please do not skip this step since it's the only way to return to the map you created.
Step Four: Order
Once you have all the details on your map are correct, click to blue "Continue to Next Step" button at the top right to get to the Order screen. Once here, you can set the quantity of the map you'd like and click the orange "Add to Cart" button to begin your checkout.
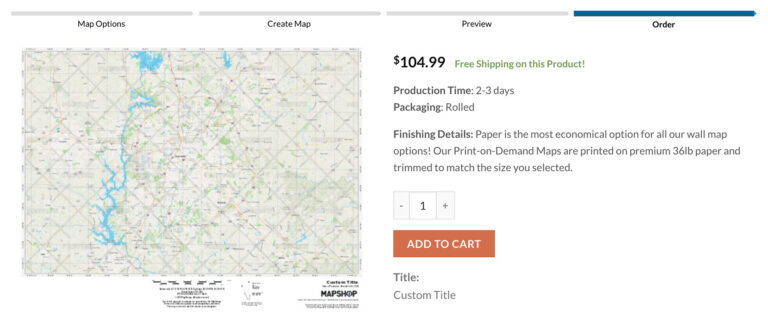
Once you click the Add to Cart button, your will be sent to the Cart page automatically so you can complete your checkout. Please note that there may be a short delay in getting to your checkout page as we generate your map. Once you complete the checkout, your final map will be generated and we will proceed to printing and finishing your map.
Please note that our custom map builder is a self-serve option and we aren't able to complete the custom map for you. If you have questions that aren't answered in the documentation above, you may contact us using the form here. Please remember that further customizations to the map data or style isn't possible.


